
Merge Fields are used to insert field information from Acquaint into Letters, Emails, and SMS Texts.
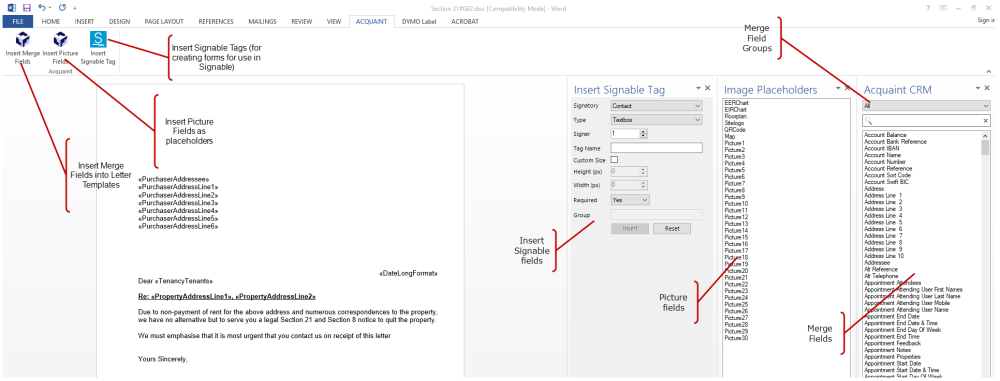
Using the MS Word Add-in to insert Merge fields
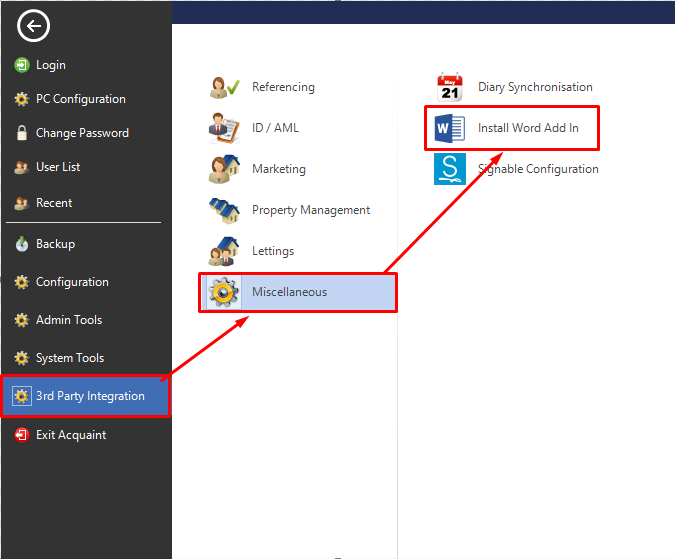
The MS Word Add-in must be installed on the PC, once installed an Acquaint menu will appear in the MS Word ribbon. If the Word Add-in is not available on the PC this can be installed via File → Third Party Integration → Miscellaneous → Install Word Add In.
-
Select a Merge Field Group
-
Click the place in the document you want the Merge Field to be inserted
-
Double click on the Merge field. Repeat for additional Merge Fields as required
-
Save the MS Word template using the Save button in MS Word.
-
Return to Acquaint CRM and save the Letter Template.
Inserting Images
When the Template is opened in Edit Mode in MS Word an Insert Picture Fields icon will appear. Property details such as EER Charts, EIR Charts, Floors Plans and pictures are inserted into templates using Image Placeholders.
Click the Insert Picture Fields icon and the Image Placeholders column will appear listing the available fields. Click the desired position in the Word Document and select the required Image Placeholder by double clicking. You can use drag and drop to move the Image Placeholder and resize. Save your changes using the Save button in MS Word.
Insert Images into Emails with Merge Fields
Property images can be inserted into emails using Property Picture Merge Fields.
Settings allow height and widths to be specified E.g [PropertyPicture1] is the standard field, but [PropertyPicture1#H300#W400] will also set its dimensions.
Create the email layout/design in MS Word, then simply select all the content (CTRL + A) and use the 'Paste the Content that you copied from MS Word' to paste the design into the email template.
Using Definable Fields in Mail Merge
-
Merge Fields for Definable Fields will not appear with the other Insert Merge Fields options, these must be inserted via an alternative method.
-
In MS Word under the Mailings tab click the option for Insert Merge Fields.
-
The Definable Merge fields should appear (at the bottom) and will be prefixed 'DF' E.g. DF1000_MyDefinableField
How to add Signable Tags
Signable Tags
Firstly you will need to make sure you have the Word Add In installed to be able to add tags in the first place. To do this go to File > 3rd Party Integration > Miscellaneous > Install Word Add In.
Once install, next we need to open the letter through Acquaint. To do this go to: Marketing Tools > Letters > Select Letter Template > Select Edit > Select Setup
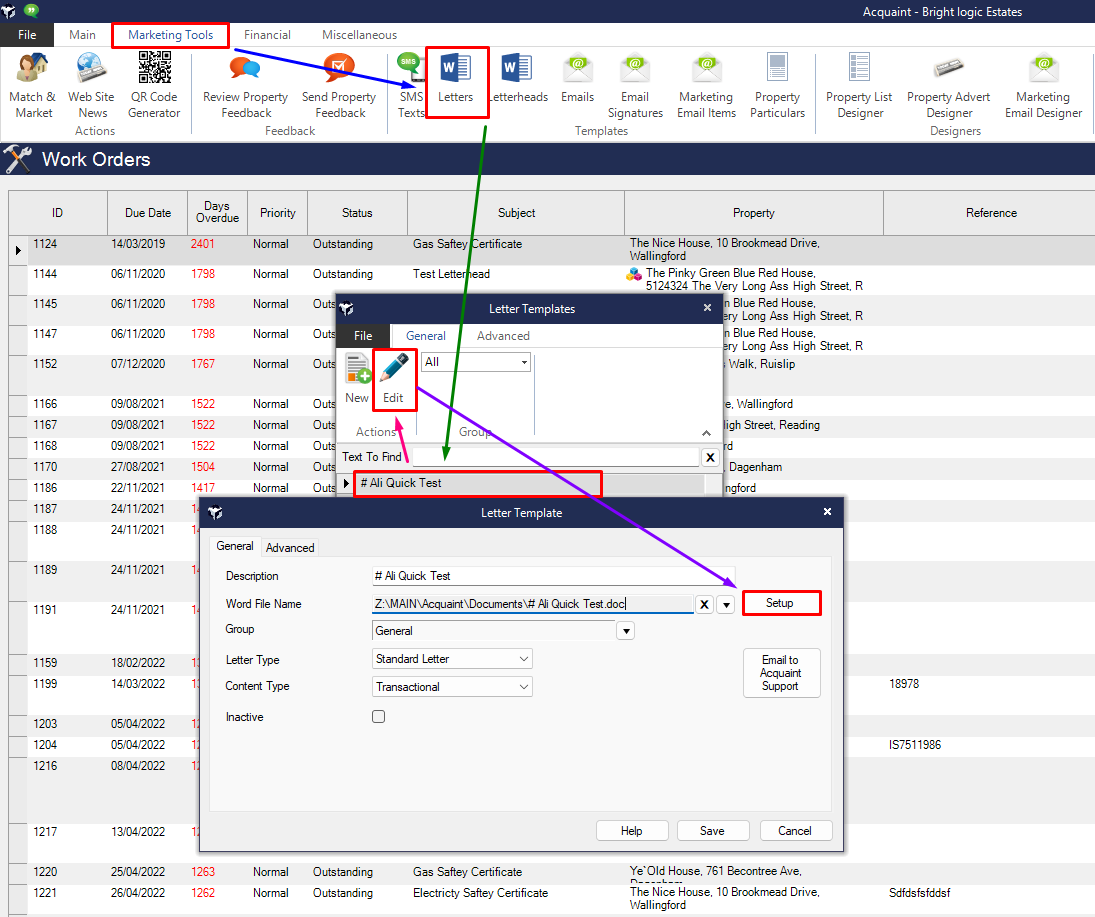
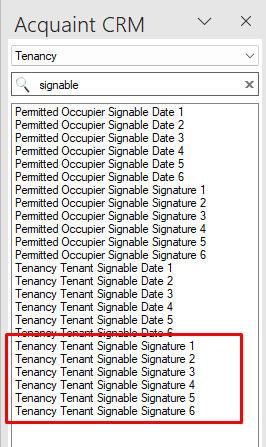
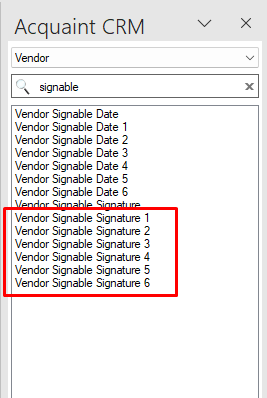
This will open the letter in Word. Here you will see a column on the right, these are all the Tags and Merge fields we use to pull in information from Acquaint and use as Signable tags.
The tags you will want are “Tenancy Tenant Signable Signature X” and “Vendor Signable Signature X” – Vendor is Landlord in this case. Each number corresponds to the order of Linked contacts, starting from the Primary.
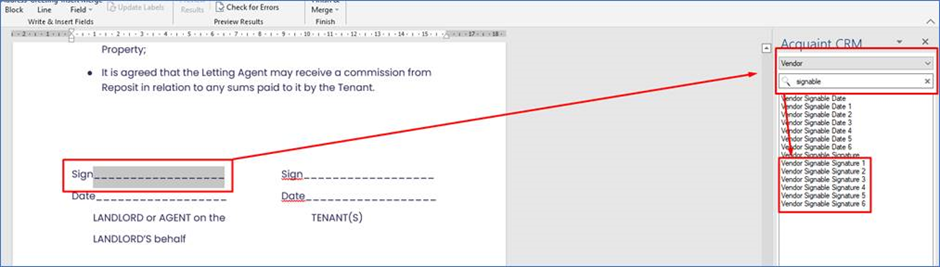
To add a tag in, highlight or click in the document where you would like the tag, then find the tag from the column and double click it. This will add in the tag.
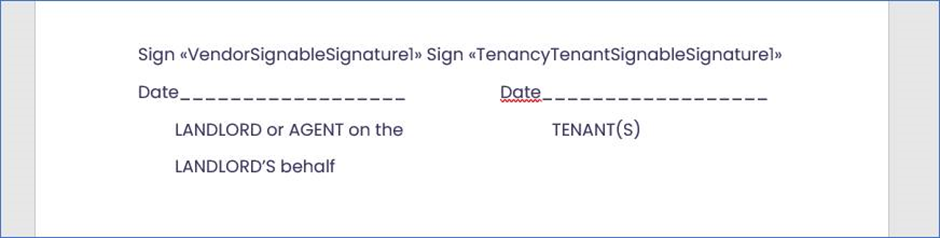
Once you are finished, save the document and close all the previous windows, and then you can create this document against the relevant contacts.
Manual Signable Tags:
Once the word add in has been Installed you can open your Word document that you would like to put the manual signable tags into.
You can see here the Add-on:
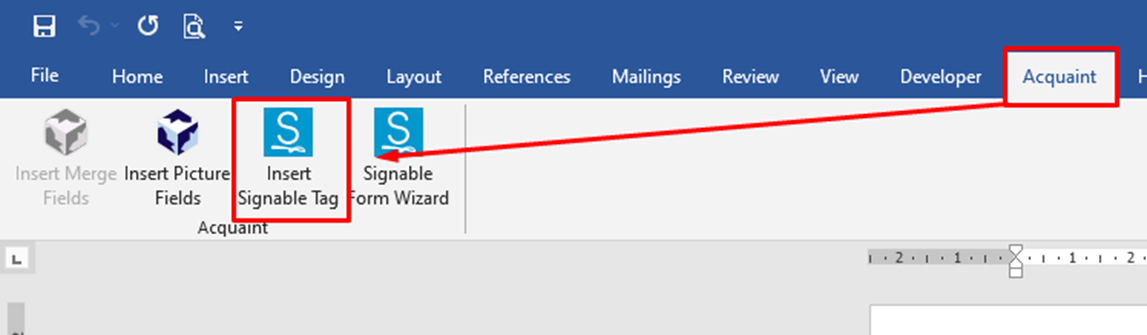
After clicking this Insert Signable Tag button, word will bring up a menu for you to choose the signable tag you would like to make.
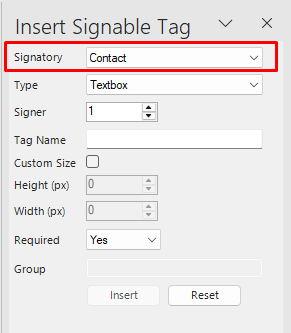
This is where you Choose your Signatory (this means the type of contact)
We have many different types however the ones used most consist of:
Tenant 1 to 6, the number after the word tenant is which tenant you are wanting to use.
Owner 1 to 6 – this means VENDOR and LANDLORD.
Guarantor 1 to 6 – these guarantors usually correspond to the tenant number e.g. Tenant 1 and Guarantor 1.
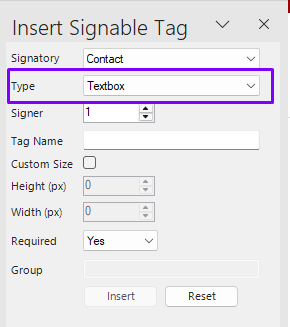
The “Type” means what you would like the Tag to do:
As you can see, we can either have a textbox, Signature, Date, Checkbox.
Textbox: This allows your client to type text into the area you have put the tag.
Signature: When sending to Signable your client can either sign or type their name.
Date: Once your client gets to the Date field it will come up like a small calendar for them to choose the date needed in the document.
Checkbox: These are for creating simple tick boxes.

Signer: This is which contact is associated to which contact.
If you were to have 3 people signing a document as an example:
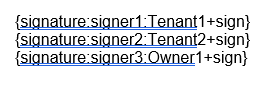
You can see that we’ve used the Type of “Signature”
We have used the Signatories “Tenant1, Tenant2 and Owner1”
Then the “Signer” field picks which order we want the contacts to sign. So in this instance it would be Tenant 1 followed by Tenant 2 then finally Owner 1.
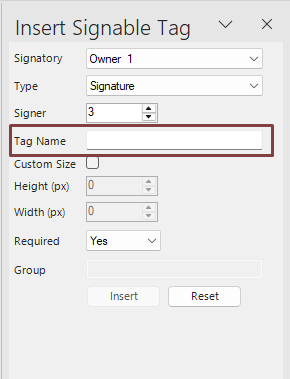
Tag Name – This is where you put down what your contact will see in Signable. – As an example you saw previously, we had the tags:
At the end of each tag we have the word ‘sign' this is just for the client to know that they are in the 'signature’ box on Signable.
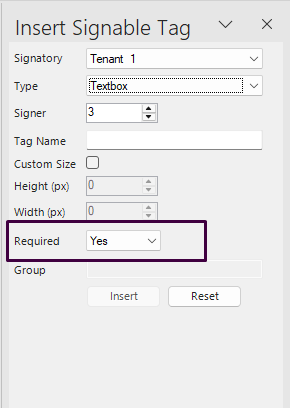
Required field. – If this is set to YES they HAVE to fill the signable tag in on Signable to be able to continue/complete the document.
If the Required field is set to NO this means that they don’t have to fill it in the continue/complete the document.
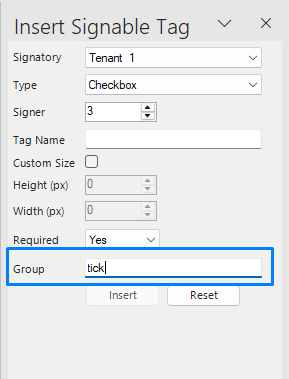
Grouping, this function is used for the Check Boxes.
This is how a grouping would work.
As you can see we’ve used the:
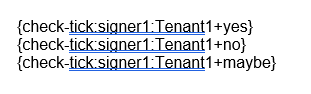
“Group”-name TICK
“Tag name” of ‘Yes, No and Maybe’.
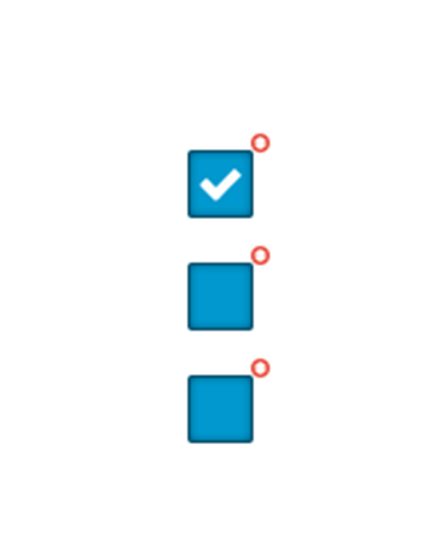
What this does is only allow 1 of these boxes to be ticked as you can see.
So as an example, you would use grouping in an AST if they are asking the Landlord which Tenancy Management type they would like.
Fully Managed
Let only
Rent Collect