🏁 Performing a Tenancy Check-Out
When completing a tenancy check-out, follow these steps to ensure all financial and administrative details are handled correctly.
🔄 Accessing the Check-Out Screen
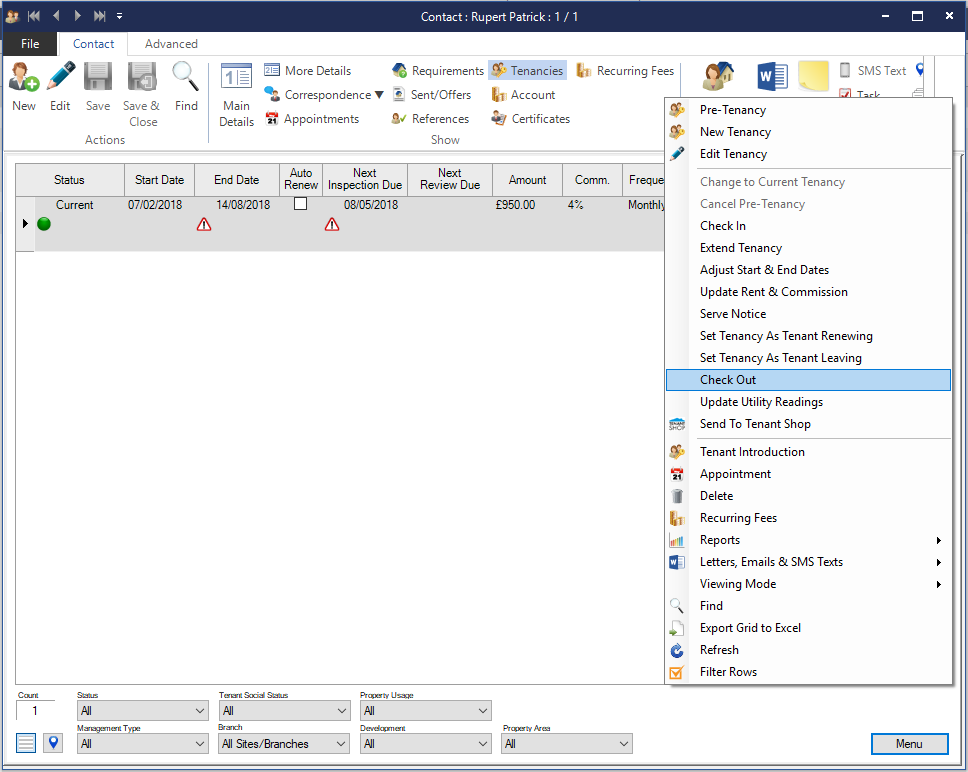
You can begin the check-out process in several ways:
-
Right-click on the tenancy record and select Check Out
-
From the Tenancies List screen
-
Via the Contacts or Properties screen by selecting Tenancies, then choosing Check Out from the Menu button
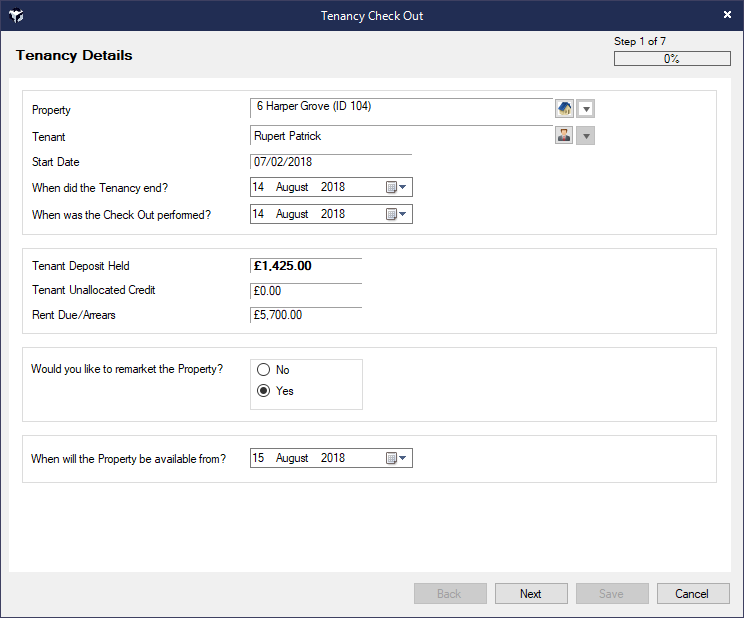
The Check Out screen will be displayed.
💰 Deposit Deductions & Retention
-
Any deductions from the deposit will be processed through the Client Account, using the tenant’s unallocated deposit transactions.
-
If no deductions are being made, simply proceed through the check-out steps, including entering meter readings and a forwarding address.
-
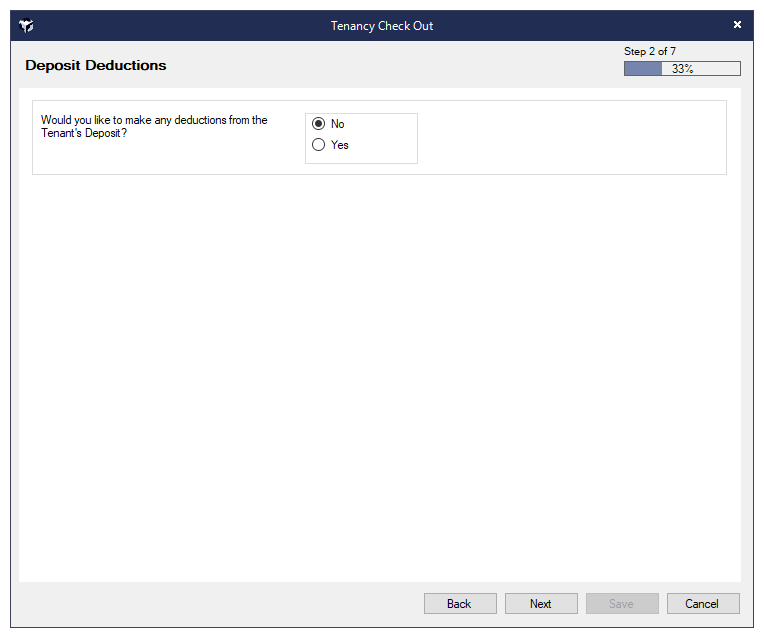
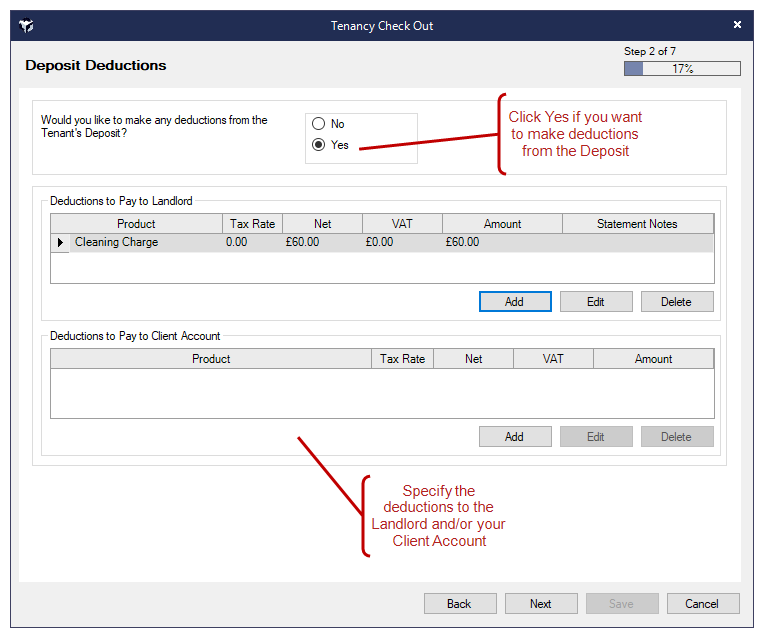
If you are deducting funds for unpaid rent, cleaning, or other charges:
-
Select Yes when prompted
-
Add the relevant deduction details
-
🧾 Deposit Deductions
-
Use this option to deduct specific amounts from the deposit
-
Common reasons include cleaning fees, damages, or rent arrears
-
These deductions will appear in the tenant’s account as Deposit Deductions
🔒 Retain Deposit
-
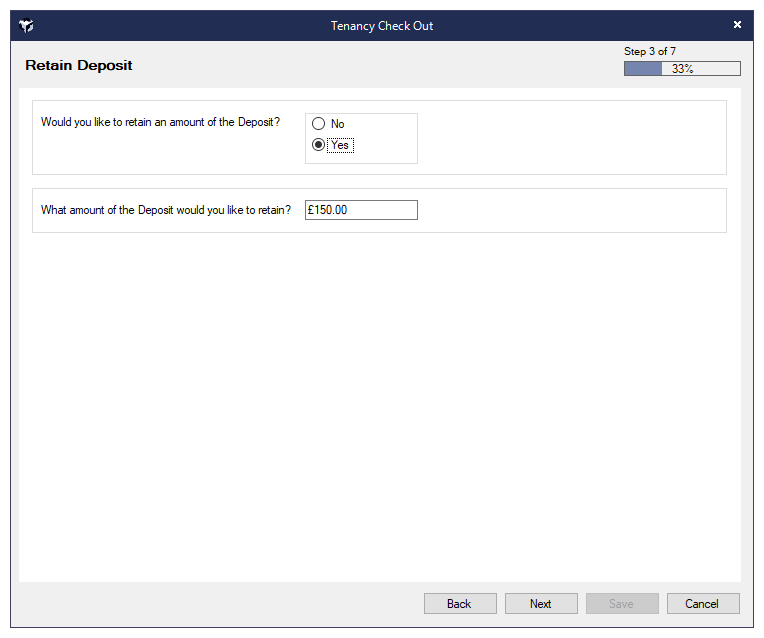
Use this option to retain part of the deposit, for example, during a dispute
-
The retained amount will also be recorded as a Deposit Deduction in the tenant’s account
💸 Returning the Deposit
-
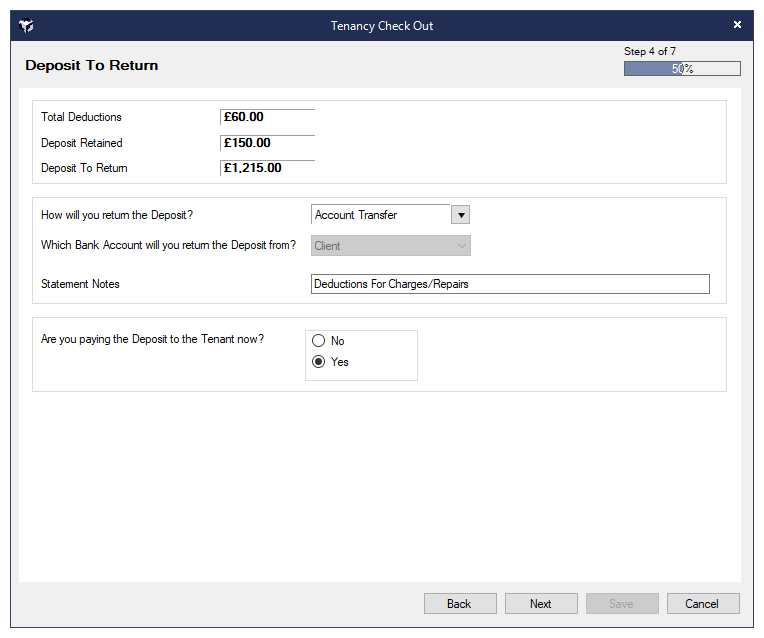
The next step will display:
-
Total deposit deductions
-
Amount retained
-
Deposit to be returned to the tenant
-
-
Choose the payment method for returning the deposit
-
Select the bank account (Deposit or Client) from which the payment will be made
🧾 Check-Out Fee
-
If you are not charging a check-out fee, click Next to continue
-
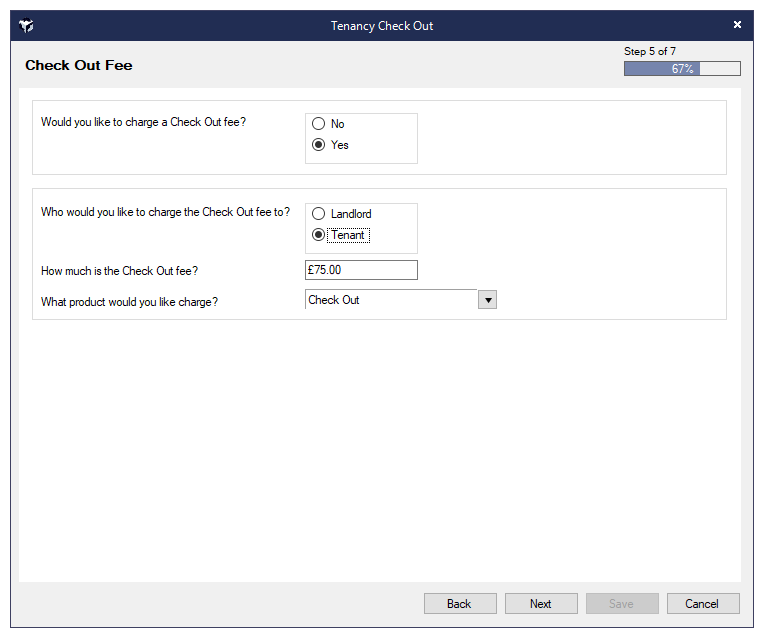
If you are charging a fee:
-
Select Yes
-
Choose whether the fee is charged to the Landlord or Tenant
-
Enter the amount and select the product
-
A debit will be created on the tenant’s account
-
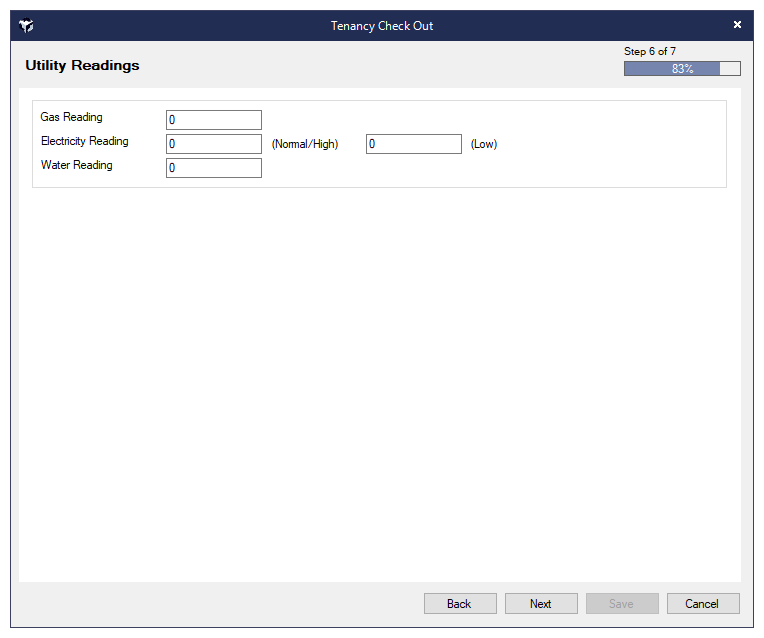
🔌 Utility Readings
-
Enter final readings for:
-
Gas
-
Electricity
-
Water
-
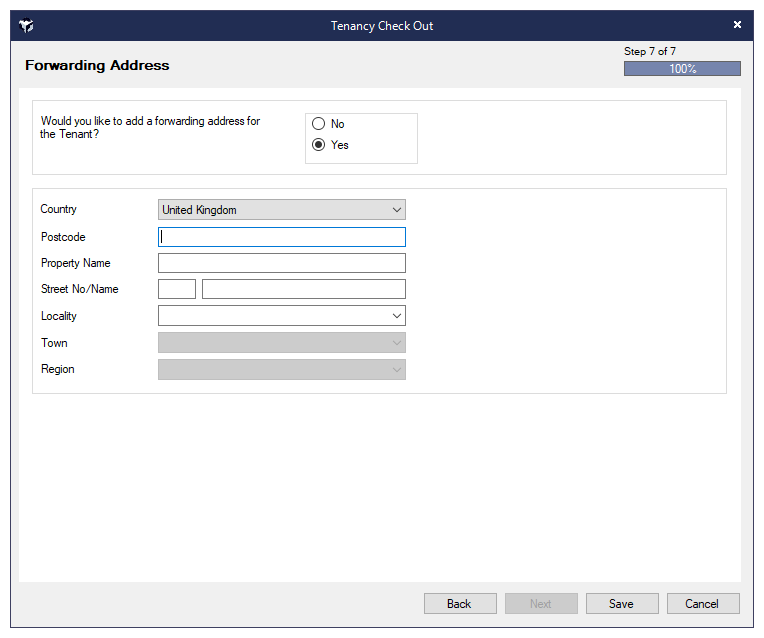
📬 Forwarding Address
-
If you'd like to record a forwarding address for the tenant:
-
Select Yes
-
Enter the new address
-
This will update the tenant’s contact record
-
✅ Final Step
-
Once all details are entered, click Save
-
You’ll be prompted to generate a Deposit Account Statement