
🧭 Acquaint Quick Start Guide
Welcome to Acquaint — your central hub for managing contacts, properties, and more. This guide walks you through the key features, interface components, and terminology to help you navigate confidently from day one.
🖥️ Navigating the Interface
Once you've launched Acquaint and logged in as a valid user, you'll see the Main Menu, which is divided into three key areas:
🔹 Ribbon Menu
A command bar that provides access to all Acquaint screens and functions. It’s organized into:
-
Groups: Each ribbon tab contains labelled groups of related functions (e.g. Actions, Show, Options).
-
Icons: Buttons within each group that perform specific tasks. Example: Click the Save icon under Actions to save a contact record.
🔹 Application Button
Located in the top-left corner of the screen. Its icon changes depending on the module you're viewing. Clicking it reveals a menu of basic functions such as:
-
Login (to switch users)
-
Change Password
🔹 Main Display Area
The large central workspace beneath the ribbon where the selected screen or module appears. Example: Selecting Contacts displays a list of contact records.

🔹 Status Bar
A horizontal bar at the bottom of the screen showing your company name and logged-in user details.

📘 Key Terminology
|
Term |
Description |
|
Button |
Clickable element that performs a function (e.g. Save, Cancel, Exit). |
|
Field |
Input area for user data. |
|
Drop-Down Box |
Field with an arrow that expands to show a list of selectable items. |
|
Check Box |
Toggles an option on or off. |
|
Radio Button |
Allows selection from a set of options. |
|
ID |
Unique numeric identifier for each record. |
|
Lookup Table |
Predefined list of items that can be added, edited, or deleted (based on user permissions). 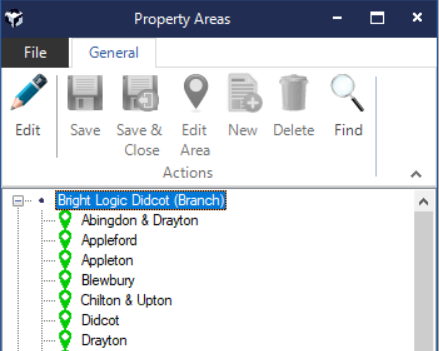
|
|
Message Box |
Displays alerts or prompts related to your current screen. 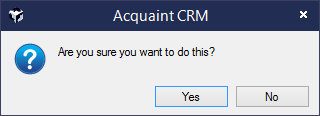
|
|
Tabs |
Divide a screen into multiple sections for easier navigation. 
|
✍️ Entering Data
Most fields automatically format your input to maintain consistency:
-
Capitalization
-
Date and currency formatting
-
Removal of extra spaces Example: Typing “john smith” becomes “John Smith” in the Last Name field.
Exceptions: Free-text fields like Notes allow unformatted input (e.g. property descriptions).
Invalid Input: Fields with incorrect data are flagged with a red exclamation mark. Example: Entering a number in the Last Name field triggers a warning.
⌨️ Field Navigation
Use keyboard shortcuts to move between fields:
-
Tab: Move forward
-
Shift + Tab: Move backward
❗ Mandatory Fields
Some fields must be completed before you can proceed. If left blank, they’ll be flagged as invalid and prevent saving.
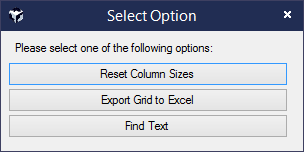
📊 Using Grids
Right-clicking on any grid opens the Select Option menu, which includes:
-
Reset Column Sizes Restores columns to their default widths.
-
Export Grid to Excel Sends grid data to Excel (if installed).
-
Find Text