

Planet Verify is personal data management software that enables organisations globally to process identity documents in a way that’s convenient, cost effective and compliant.
The key features of their identity platform:
-
Collect - Collect client data via PlanetVerify’s secure online platform and mobile application
-
Verify - Track progress and authenticate important identification documents straight from the dashboard
-
Store - Store client data centrally and securely for ease of retrieval when you need it
-
Purge - Archive or permanently delete information in compliance with the latest data legislation
With a Planet Verify account you can select forms or create new templates for the information required. Send requests for Proof of ID by text or email. Upload data from the PlanetVerify App or straight to the dashboard. Be notified and receive confirmation when all data is uploaded. View data for verification quickly and conveniently. Data is securely hosted on Planet Verify enabling it to be downloaded and printed. The ability to archive data for retrieval at any stage and purge data that is no longer required enables you to be compliant with general data protection legislation (GDPR).
Acquaint integrates with Planet Verify. Once you have a Planet Verify account the following instructions show you how to set-up and use the integration.
Initial Configuration
-
Go to File → 3rd Party Integration → ID / AML → Planet Verify Authentication
-
Enter login credentials for Planet Verify and click the Authenticate button. Note: Login credentials are not stored in Acquaint.
Sending a Request to Planet Verify
There are two methods of initiating sending a new request to Planet Verify:
• From a Contact record
• From the Pre-tenancy screen
Initiating a Request from the Contact screen
From a Contact record click on the Send Planet Verify Request button on the Advanced tab in the Ribbon menu.
Initiating a Request from the Pre-Tenancy screen
When a User saves a new Pre-Tenancy a prompt will be displayed asking if the User would like to send a Proof of ID check to Planet Verify. If the User clicks the Yes button the Planet Verify Request screen will be displayed.
Sending a New Request
1. Once a new request has been initiated from one of the above methods the New Planet Verify Request screen will be displayed. Select the desired Planet Verify Template you would like to use in the Request.
If no Templates have been set up within Planet Verify a warning message will be displayed instead. Additionally, if there are no credits on the account a warning message will be displayed and you won’t be able to send a new request until you purchase more request credits.
2. Click the Send button to send the request to Planet Verify. If the request is successful the New Planet Verify Request will close automatically. If the request fails an error message will be displayed.
3. Pending Planet Verify requests will be shown under the Lettings section of the Home Page. Clicking on the reminder will load the Pending Planet Verify Requests screen.
How the Planet Verify Process Works
The recipient receives an email detailing the data that has been requested. They can use the Planet Verify App or Planet Verify website to return to requested information. If a Mobile number has been included on the Contact record when the new request is sent to Planet Verify, the Contact will receive a text from Planet Verify to notify them that they have been sent a data request. Returned Planet Verify Requests are stored as Certificates. Any uploaded files will be stored as external documents. Double clicking on these will load the uploaded file. All other requested details will be collated and stored as a Note in the Correspondence section.
Step 1
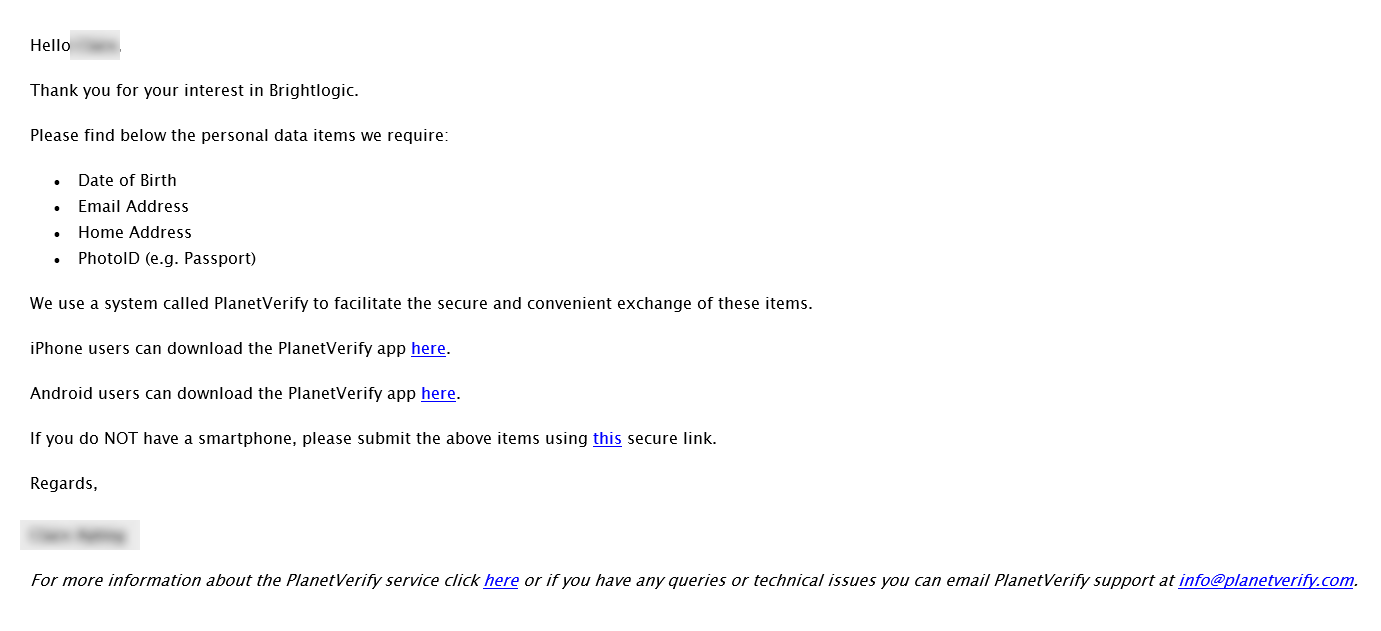
-
The recipient receives an email from Planet Verify detailing the information that you (the agent) has requested.
Step 2
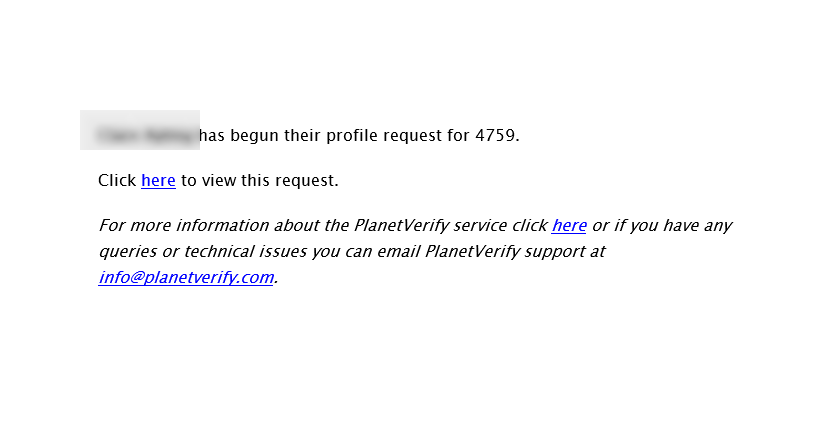
-
You (the agent) receives an email from Planet Verify when the recipient begins the process of submitting information.
Step 3
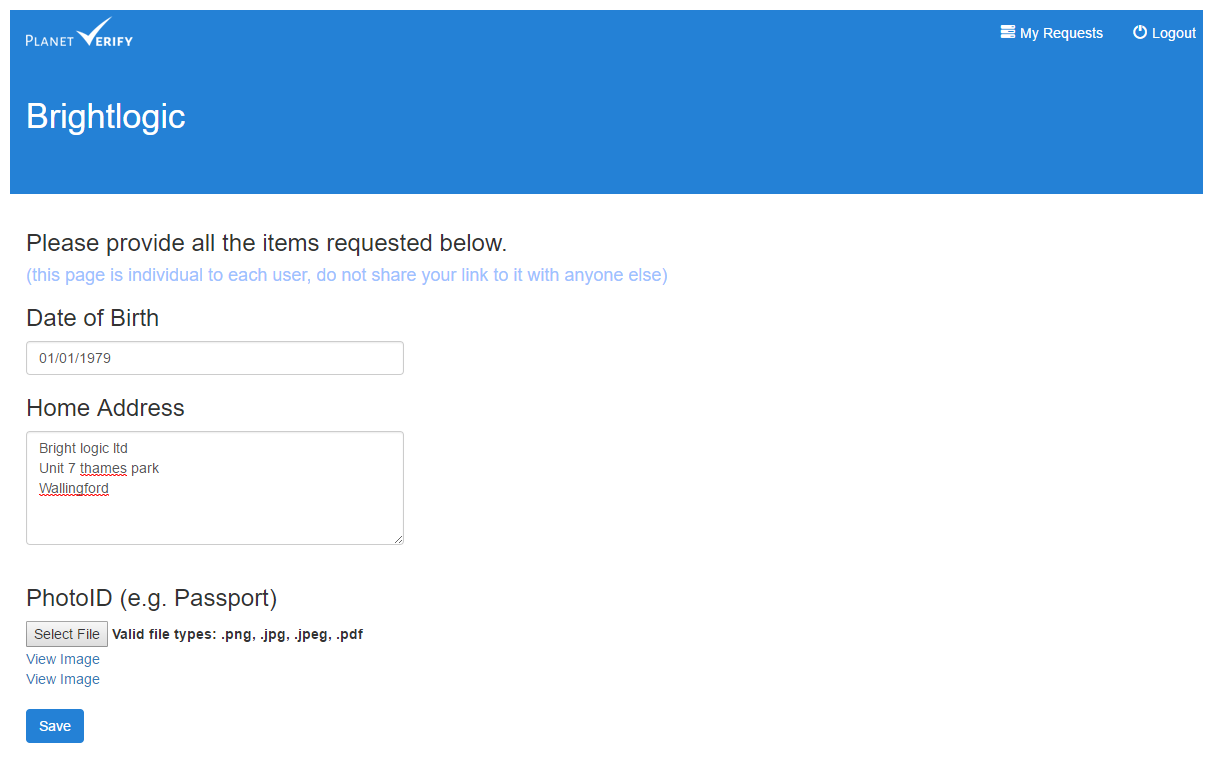
-
The recipient enters and submits the information.
Step 4
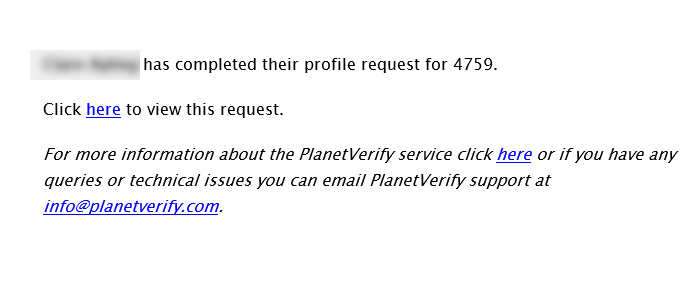
-
You (the agent) receives an email from Planet Verify notifying you that the information has been submitted.
Downloading Completed Requests
Every 30 minutes Acquaint will check to look for new completed requests. Once completed requests have been downloaded a Desktop Alert will be displayed to inform users.
When a User clicks on the Desktop Alert the Completed Planet Verify Requests screen will be displayed.
The Completed Planet Verify Requests screen can also be displayed from the Completed Planet Verify Requests reminder in the Lettings section of the Home Page.
To view the Completed Request the User can either double click on the row in the grid or click the View button. This will load the Certificate record for the Completed Request.
Once all Completed Requests have been reviewed click the Accept All button on the Completed Planet Verify Requests screen.
This will remove the Completed Planet Verify Requests reminder from the Home Page screen.
Viewing the details of the Request
Planet Verify Requests are stored as Certificates against the Contact.
-
Find the Contact.
-
Click Certificates.
-
Double-click to view the Certificate.
-
Click on the Correspondence section.
-
There should be two separate entries one for the photo ID they uploaded and one for the data details they submitted. Double-click to view the records.
Cancelling a Pending Request
1. From the Pending Planet Verify Requests screen right click on the request that needs to be cancelled and select the Cancel Request option from the menu.
2. A prompt will be displayed asking the User to confirm that they wish to cancel the request.
3. If the request has been successfully cancelled the request will be removed from the Pending Planet Verify Requests screen. If the request could not be cancelled a warning message will be displayed.
Request Credits
The total number of remaining Planet Verify Request Credits is displayed in the System section of the Home Page.

Acquaint will update this reminder periodically.
When a User clicks on the reminder the following web page will load in a new browser window: https://app.planetverify.com/Account/login
-
If there is a message against Planet Veriphy on the Home Page stating 'Unable to Retrieve Balance' it's likely you have lost authentication/connection to Planet Veriphy. Go to File → 3rd Party Integration → Planet Verify Authentication and re-entering your Planet Veriphy credential may resolve this issue.
-
When clicking the Planet Veriphy icon against a contact and get the message 'Sorry, you do not have enough credits to send new requests. Please log in to your planet Verify account and purchase more Request Credits.