
🔍 Filtering Reports in Acquaint
Reports in Acquaint can be tailored using filters to include only the specific data you need. For example:
-
Generate Address Labels for Vendors only
-
Send an SMS Text to Applicants interested in 3-bedroom houses
🧩 Flexible Filtering Options
-
You can apply any number or combination of filters to refine your report.
-
Each filter supports both Include and Exclude options.
Example:-
Include all Vendors
-
Exclude all Users
-
🛠️ Filter Controls
Use the following buttons to manage your filters:
-
Add: Create a new filter
-
Edit: Modify an existing filter
-
Delete: Remove a selected filter
-
Delete All: Clear all filters
💾 Save Filters as a Macro
If you frequently run a report with a complex set of filters, you can save it as a Macro. This allows you to quickly reload the same report setup without reapplying filters manually.

How to add Filters:
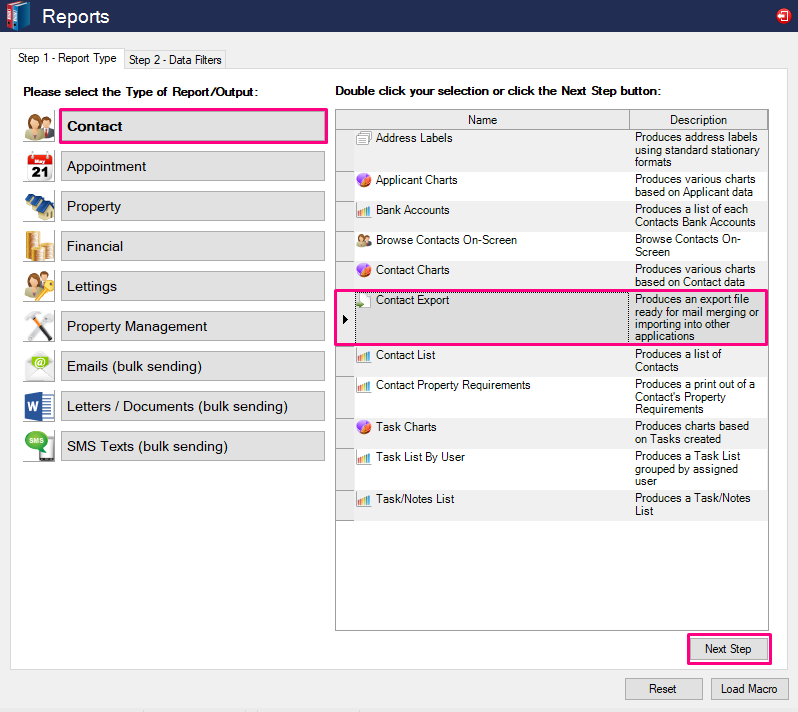
Open the Reports section by going to More → Reports.
Select the type of report/output you are wanting to use.
In this example we will be doing a contact export.
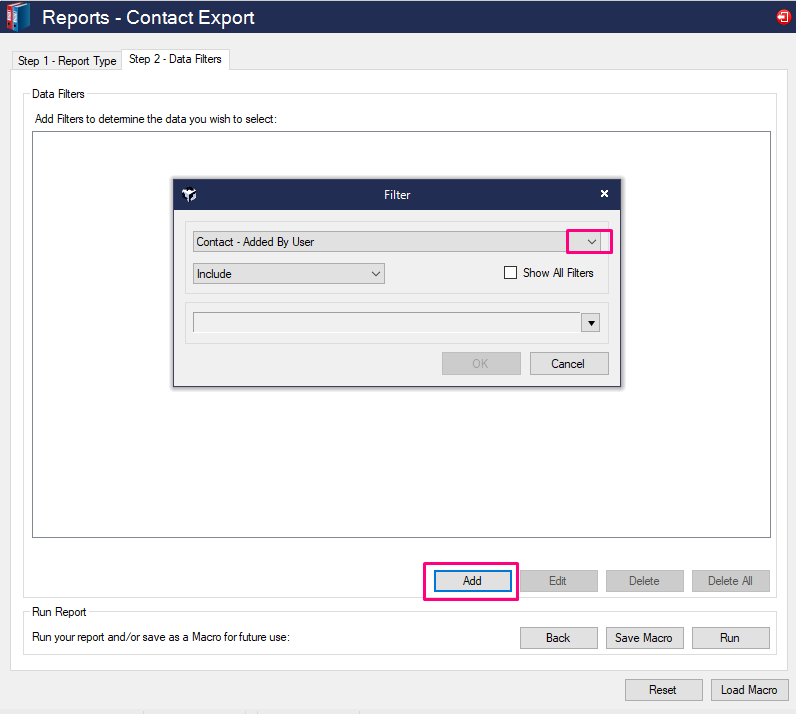
Click the “Add” button.
You should now see the “Filter” box.
Select the drop down arrow to choose your first filter.
We have chosen “Contact type”

Next is to include the type of contact we would like to export. (we are using Contractors in this example).
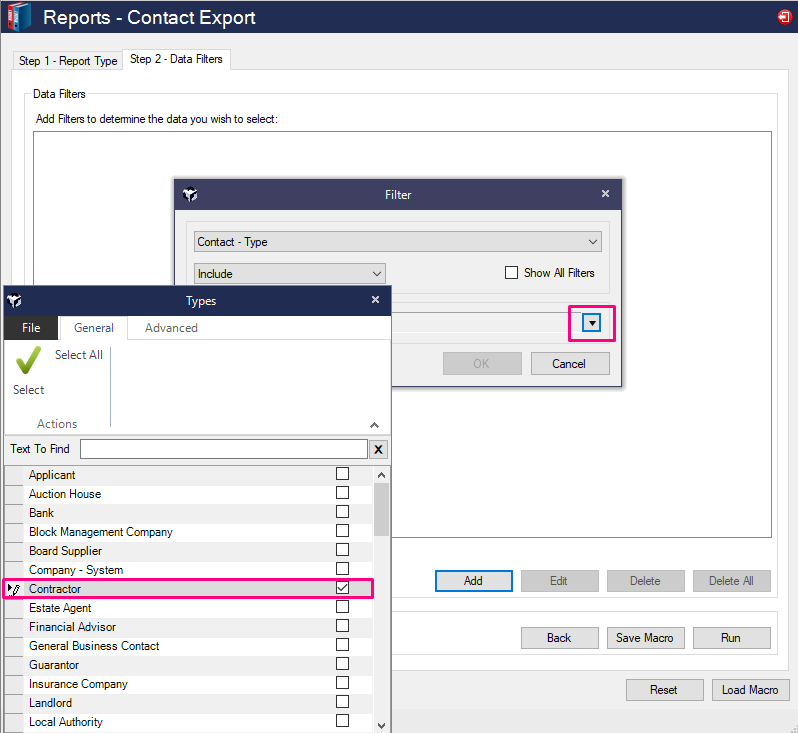
Once you have selected your type(s) you can tick the box(es) and then click the select button.
Repeat this process with as many different filters you need.
Finally click the run button and this will produce your export.
How to Save a Macro:
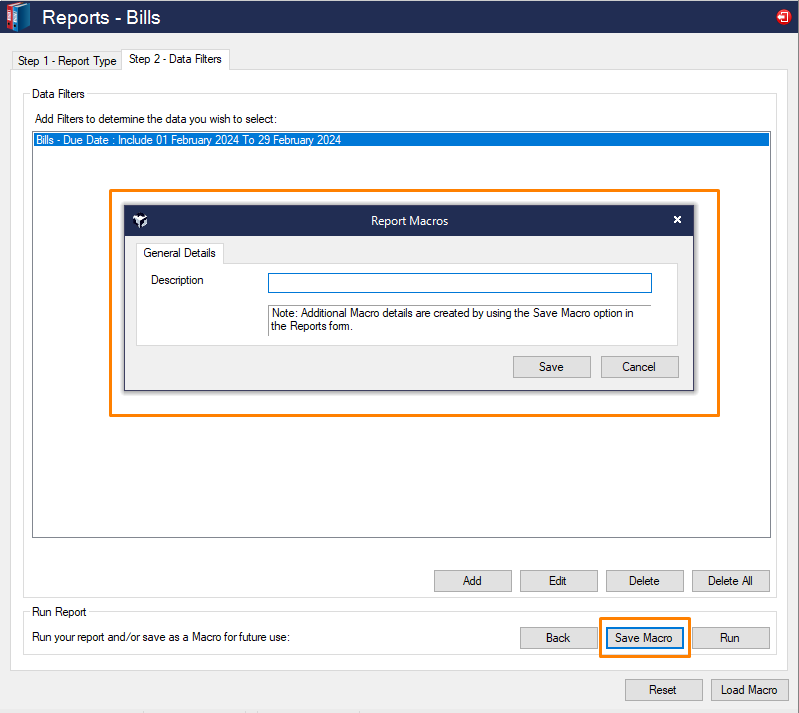
Once you are happy with your filters click the “Save Macro” button in the bottom right of the screen.
Enter in a description of what you would like the macro to be called.
Click Save.
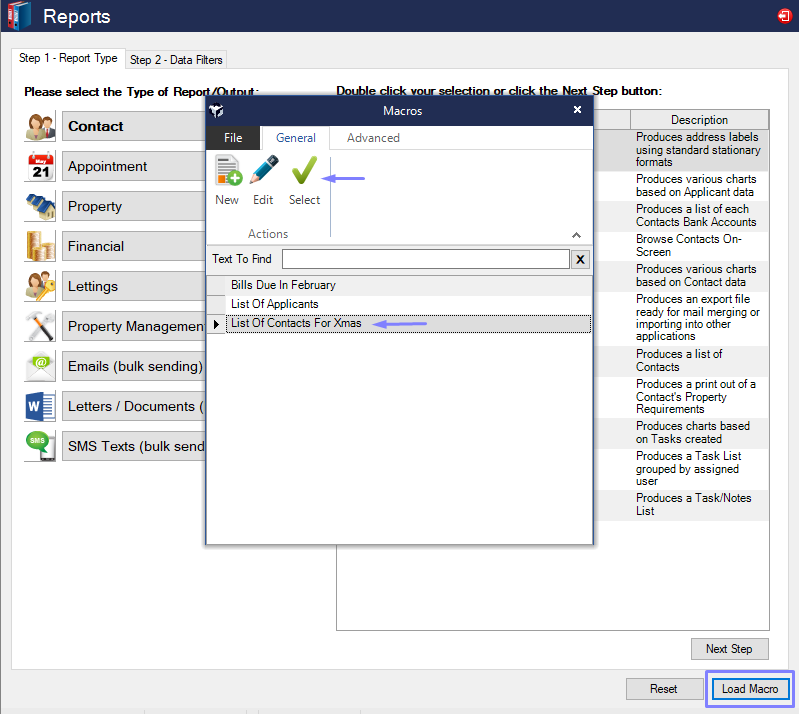
How to Load a Macro:
First step is to get to the reports button. (More → Reports)
Select the button “Load Macro” and then select your Macro from the List.
A popup will appear asking:
“Do you want to run the Macro now (Yes) or edit it first (No)?
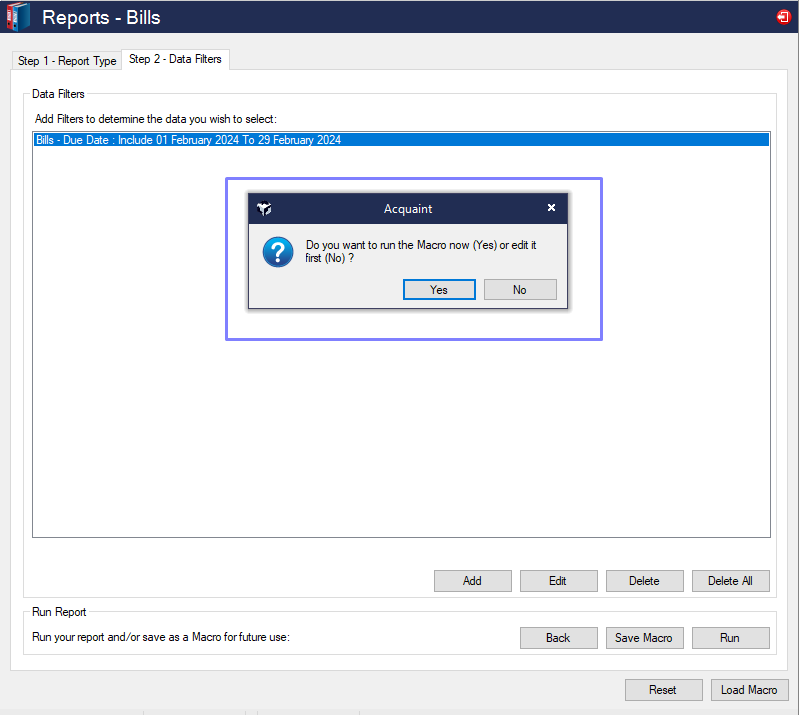
If you need to run exactly the same filters click YES.
If you need to edit some of the filters click NO, then double click on the filter or left click and press edit.
You can now change the filter.