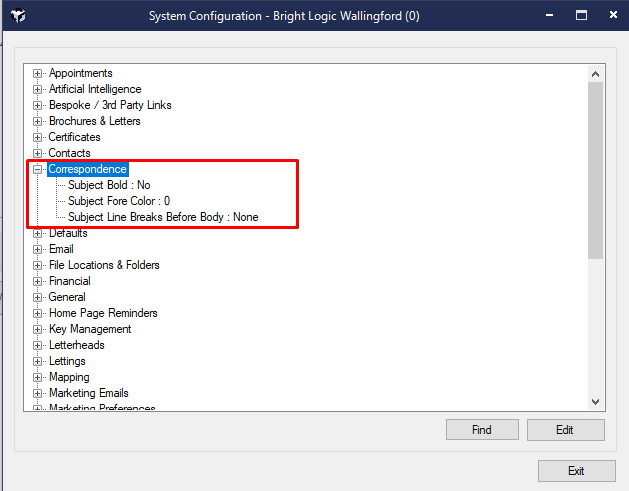
Changes can be made to customise the display of text in the Correspondence screen. These changes are system wide across a branch
This guide shows you some examples and how to easily make changes.
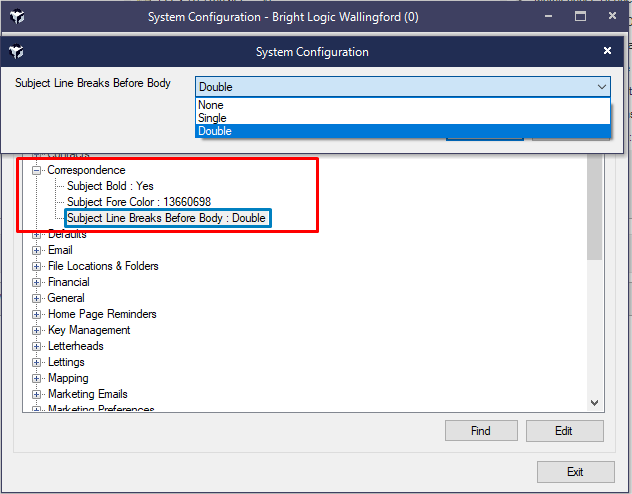
File → Configuration → Site /Branches → Correspondence
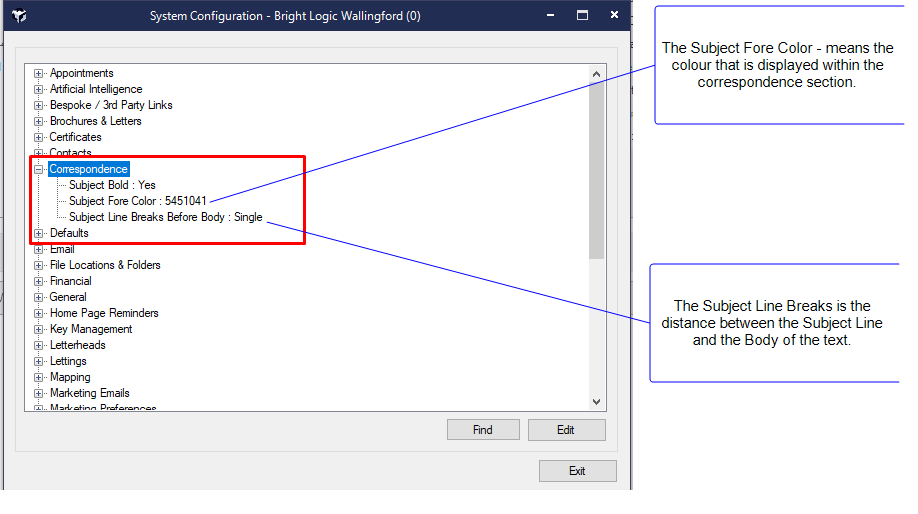
Configuring colours
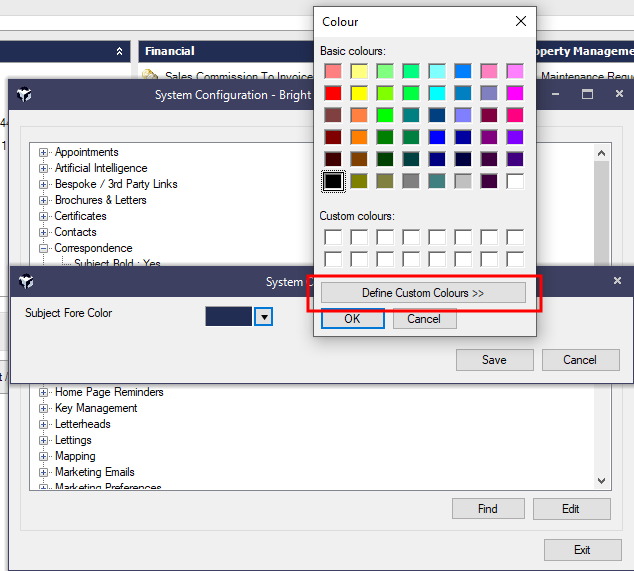
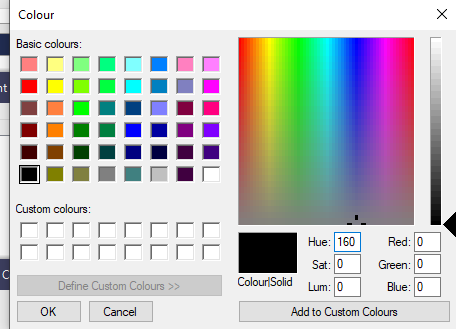
If you would like to change the colour of the subject line, all you have to do is double click the words “Subject Fore Color” and this box will appear → then click the drop-down arrow and you will then see all the colours. If you would like to make your own colour press on the “Define Custom Colours” and this will allow you to set your own customer colour (either with the RBG or moving the mouse on the colours) Once you are happy with this please click the OK button and then Save.
Example with green fore colour
Configuring line spacing
Line spacing may be use to add a blank space between text lines.
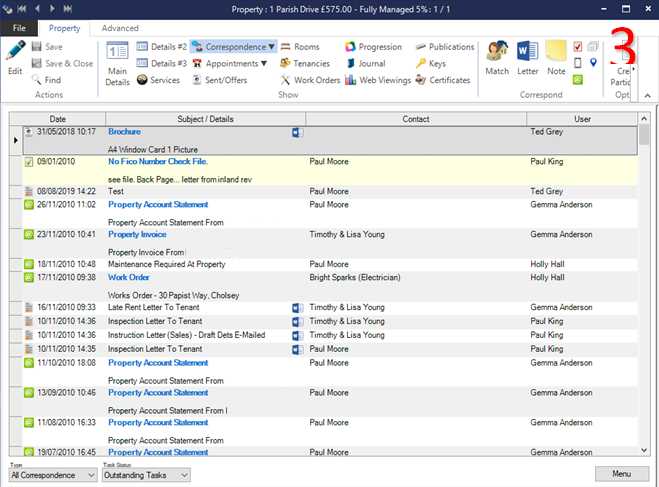
As you can see in Screenshot 1, 2 and 3 we have changed the spacing between subject and body text.
This is how each one will look when choosing between the options. Below is shows how each one will look when choosing between the options.
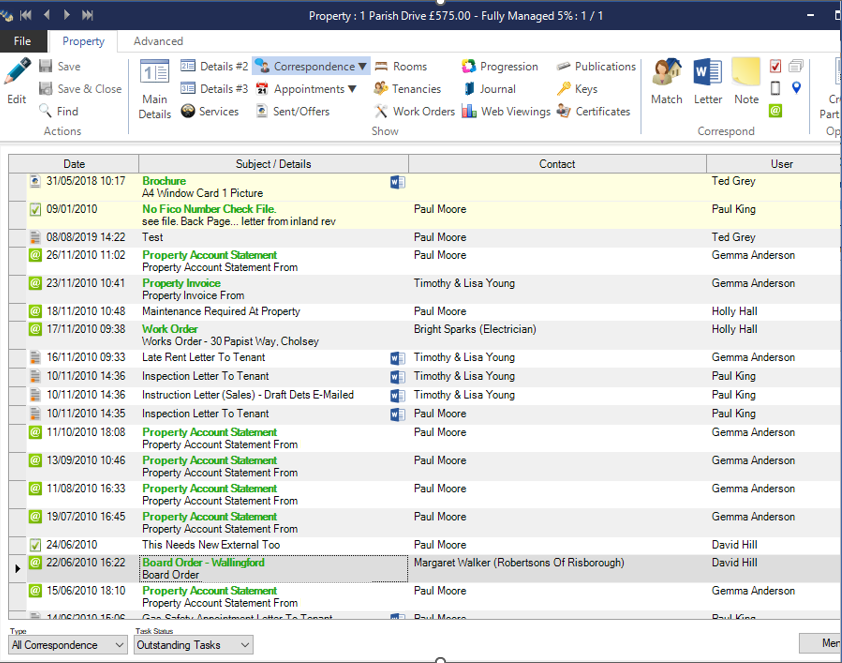
Image 1 is how the correspondence used to look with the – between the Subject and Body – Option None
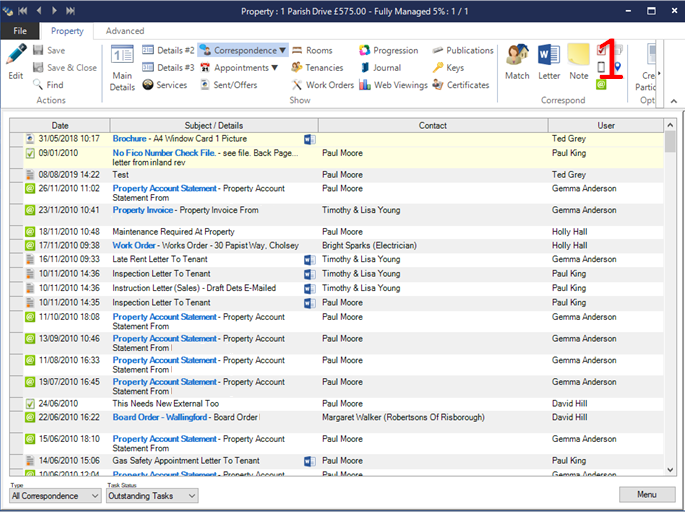
Image 2 is where the Subject and Body are on separate lines – Option Single
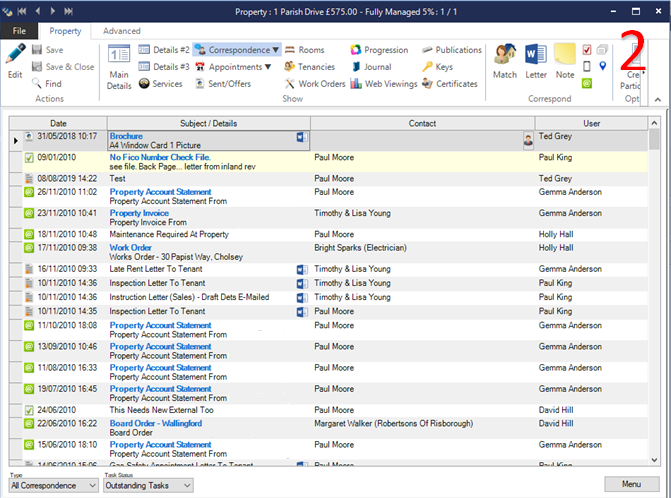
Image 3 leaves another space between the Subject and Body – Option Double
Reverting Back to Black Text
If you would prefer to revert back to black text without spaces as was originally displayed then use the following settings.